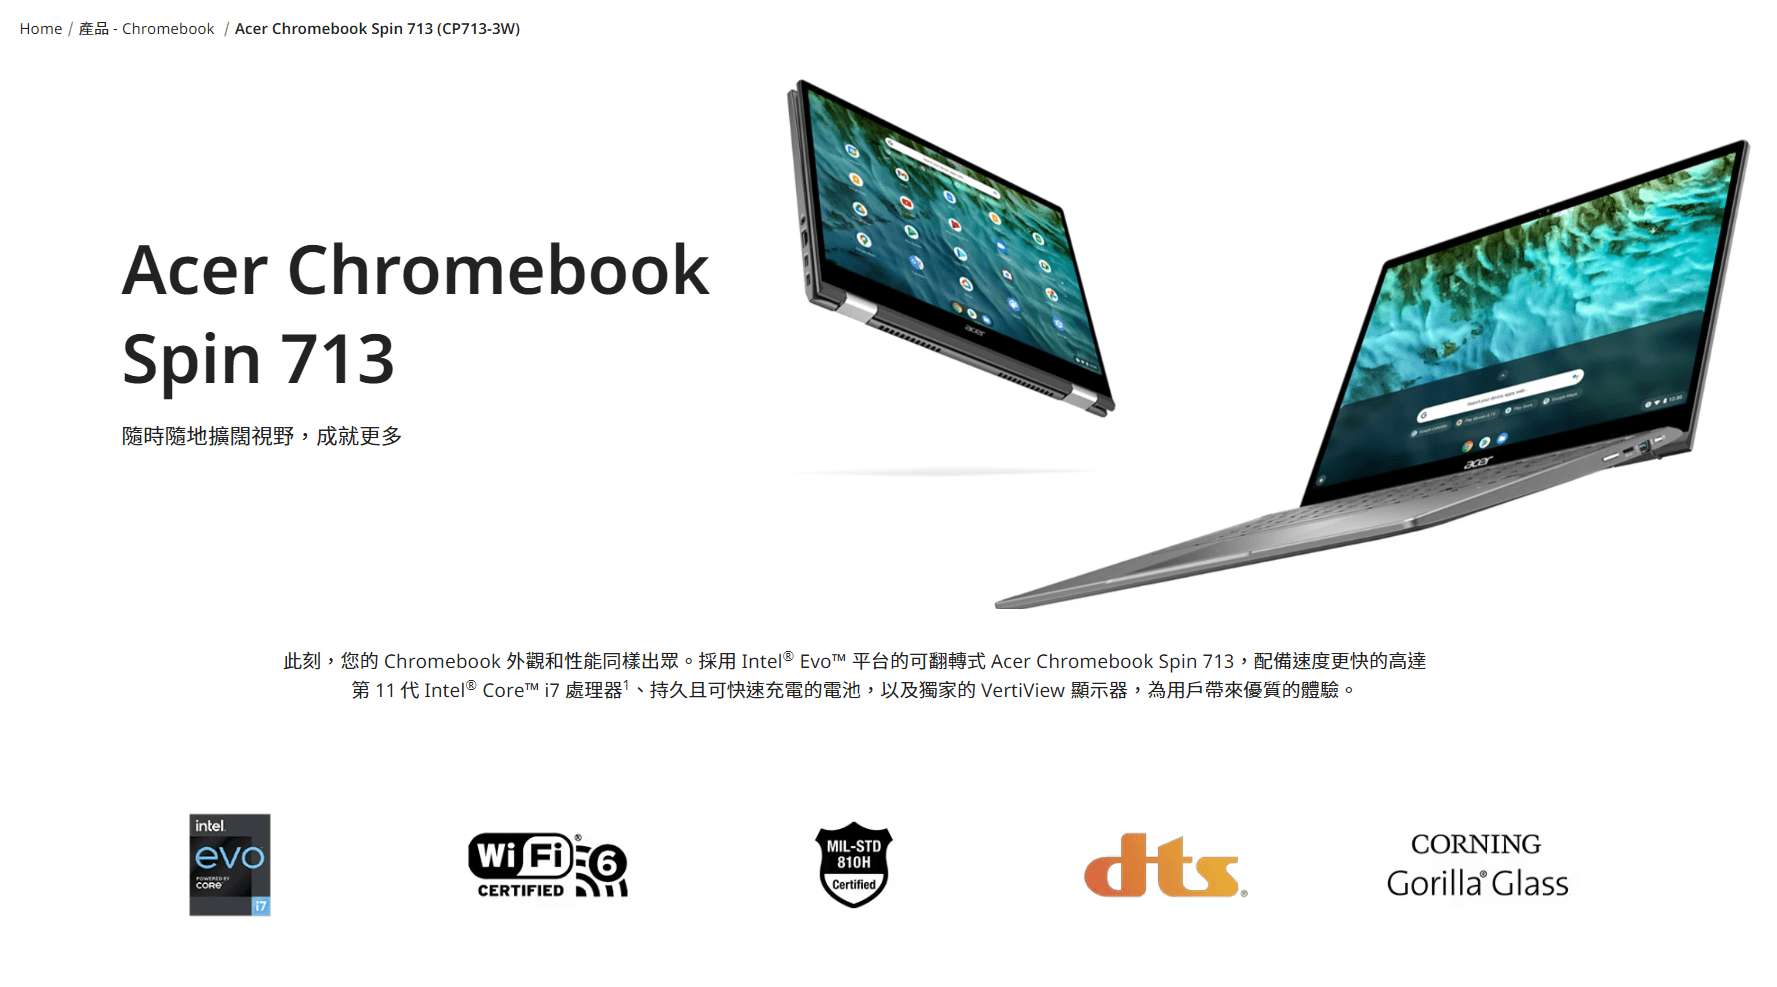
The Chromebook Spin 713 is a laptop that I have been wanting to try out, but the only ones available in the market were old models with 8th and 10th generation U processors, which didn't seem much different from the Thinkpad X1 Carbon I used before. However, I recently stumbled upon a 3rd generation model of the Acer Chromebook Spin 713 on Idle Fish, which features an 11th generation platform, Xe graphics, and a Thunderbolt interface, all for a price of 1288 yuan. This was too good to pass up, and I decided to replace my current Lenovo Y7000P 2020 with it for office and lightweight use.
Official website: https://www.acer.com/hk-zh/chromebooks/acer-chromebook-spin-713-cp713-3w
Machine Configuration
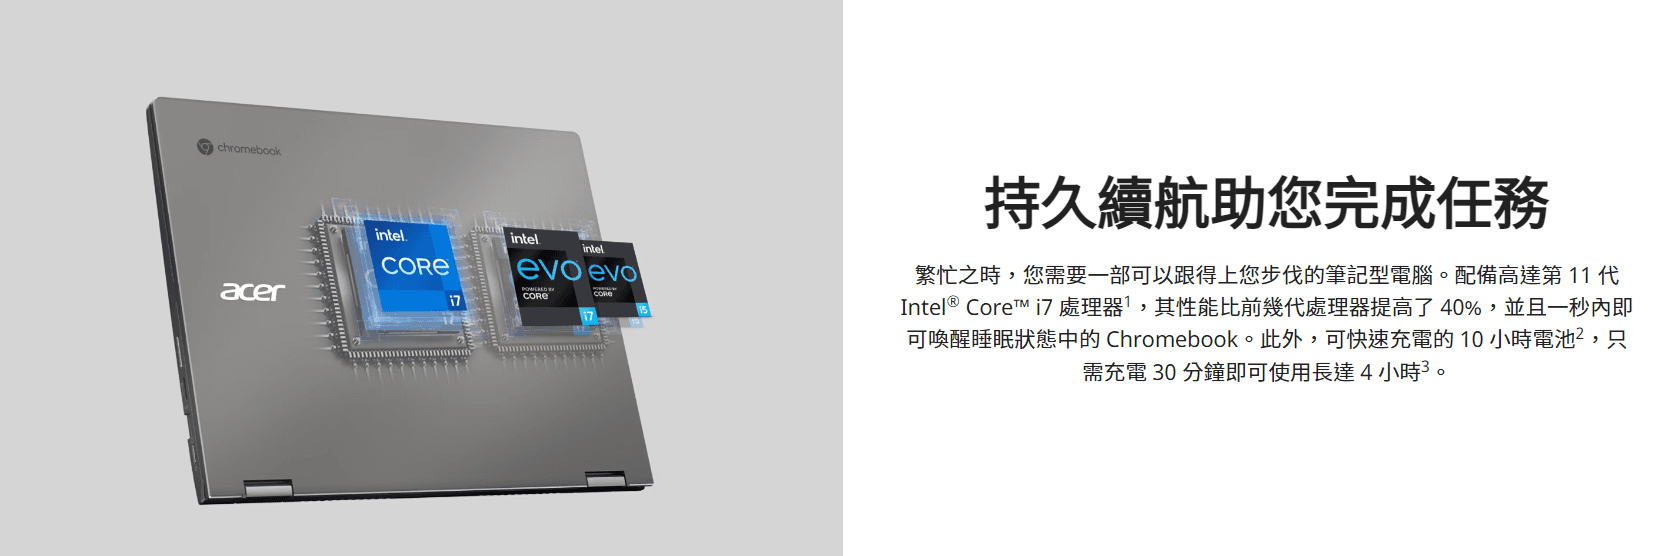
CPU: Intel Core i5-1135G7 @ 2.4Ghz, 8M cache, 28W TDP, 4 cores, 8 threads, boost frequency 4.2Ghz
Compared to the i7-1165G7, it has 4MB less cache and a 0.5Ghz lower boost frequency. However, for daily light use, the difference should not be significant.
Memory: Magnesium LPDDR4 4267Mhz 16GB (2G*8)
Graphics: Intel Iris Xe Graphics, 80EU version, compared to the 96EU version on the 1165G7
Hard drive: Hynix HFM256GD3JX016N, M.2 interface, can be upgraded and replaced by yourself
Network card: Intel AX201 WiFi6 160Mhz
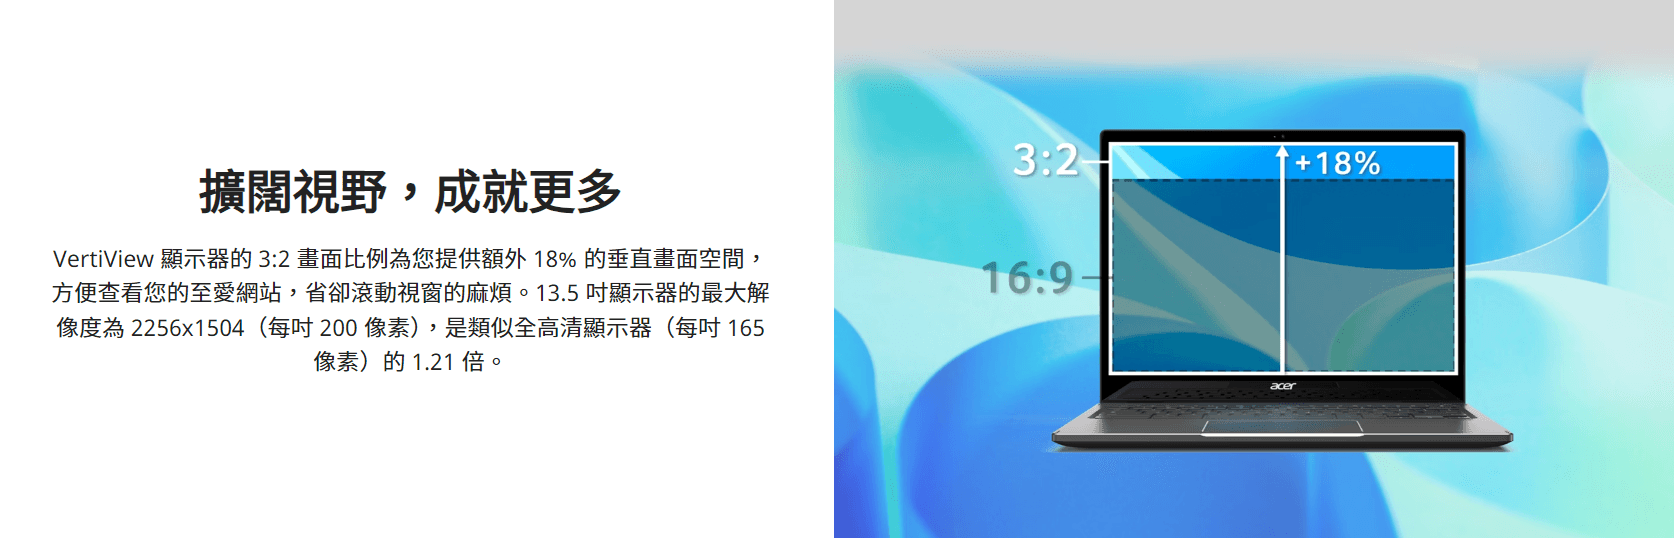
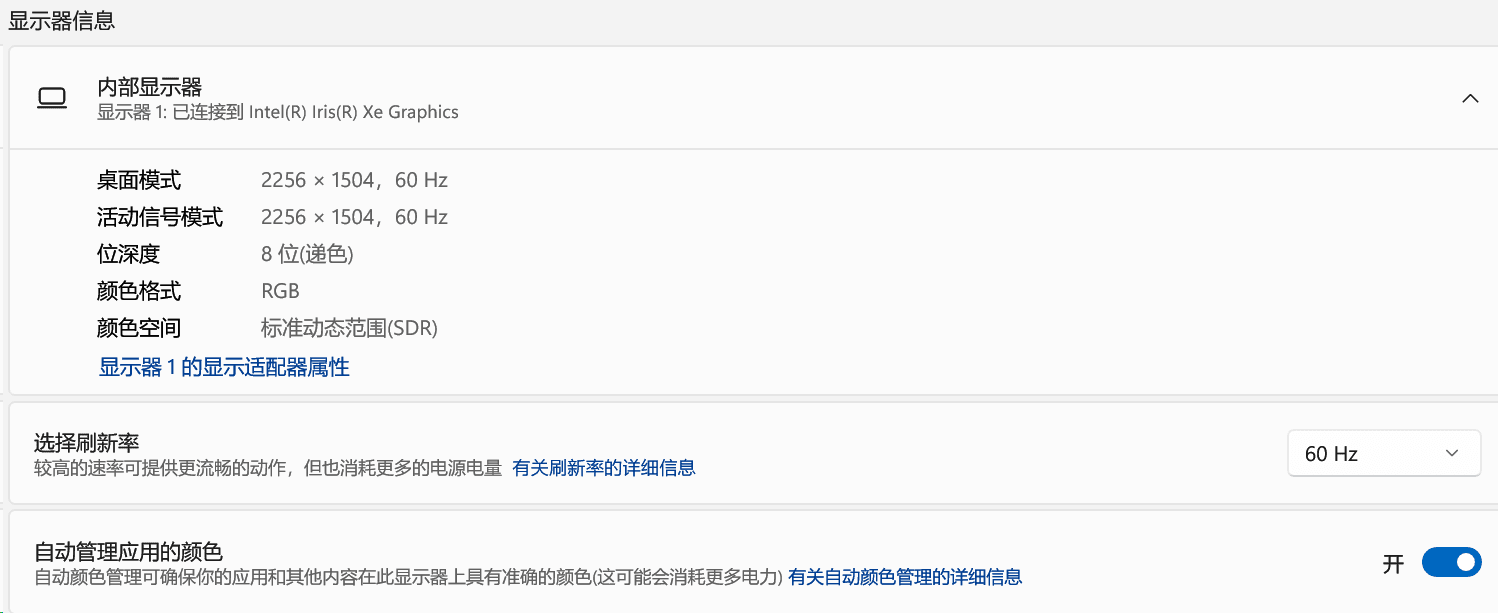
Screen: BOE NE135FBM-N41, 3:2 special ratio, mirror screen, 10-point touch, supports flip mode for tablet use, resolution 2256*1504, refresh rate 60Hz, brightness 415 cd/m², color 100% sRGB
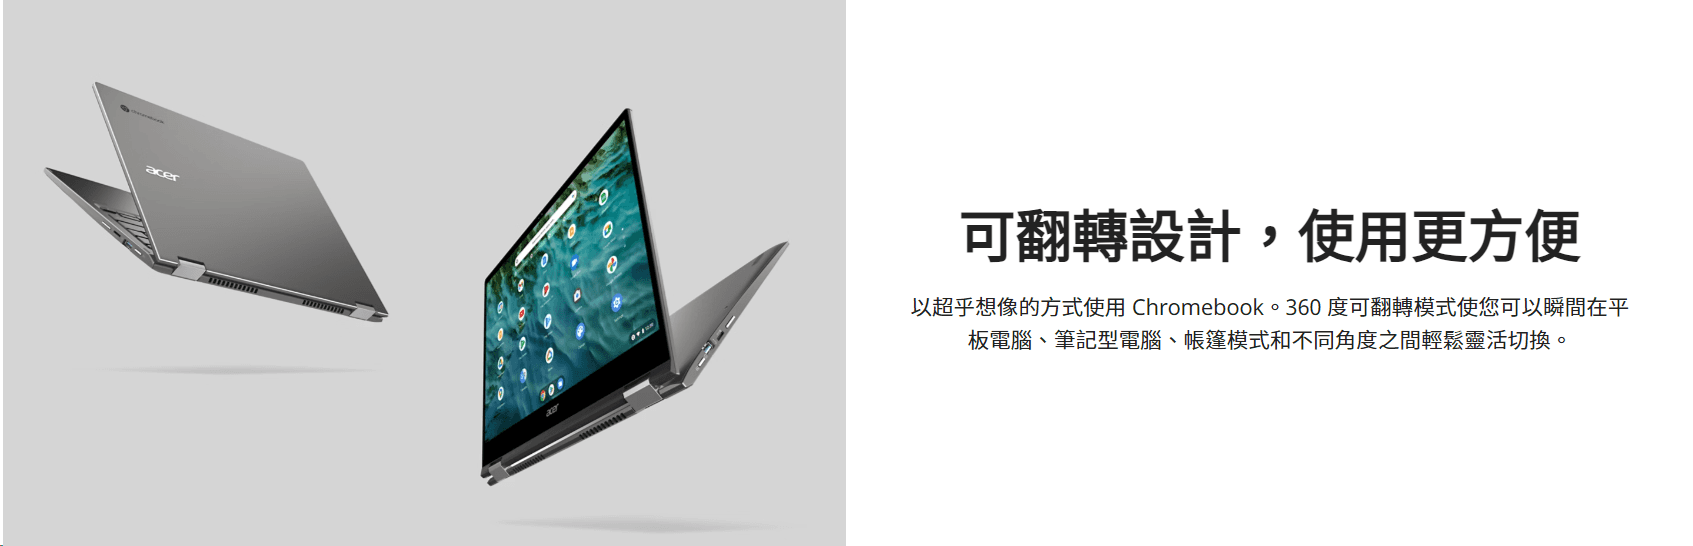
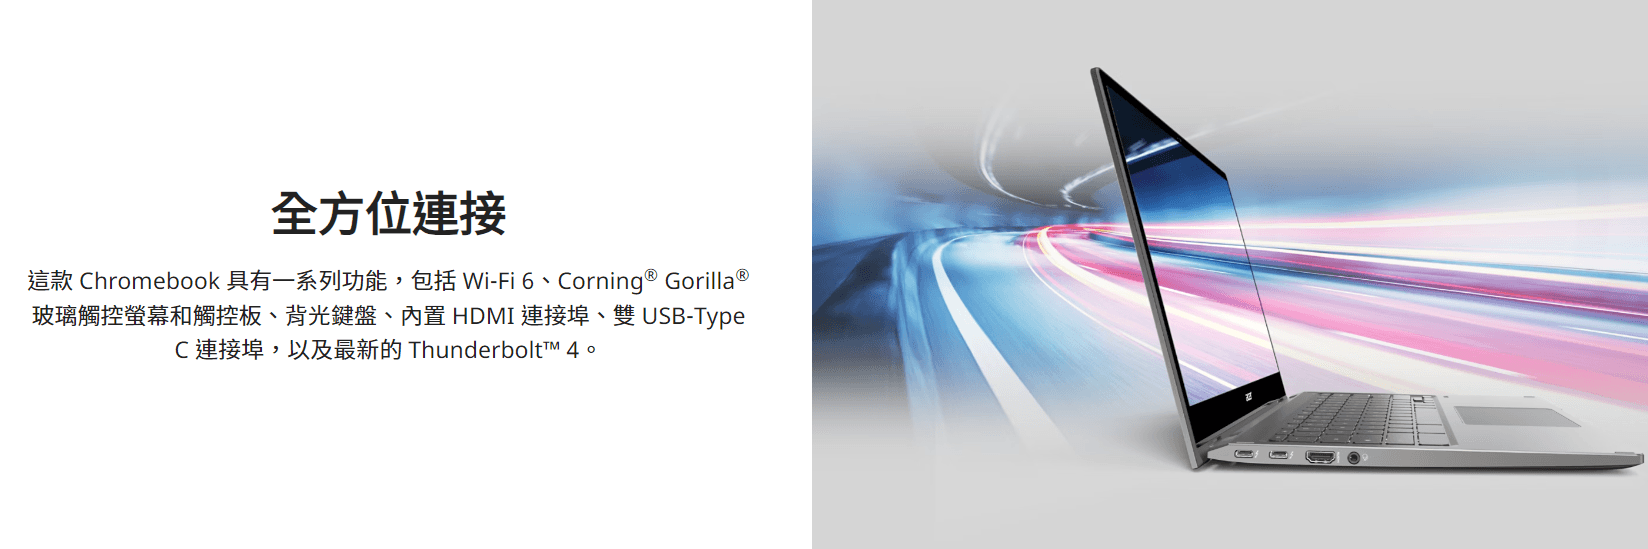
Interface: Dual USB-C on the left, supports Thunderbolt 4 and PD power supply, full-size HDMI interface, 3.5mm interface; USB-A and TF card reader on the right, as well as volume keys and power button
Purchase Channel
Purchased from the seafood market, the seller claimed that the screen had some white spots and sold it at a low price. However, after receiving the machine, I couldn't find any problems.
The purchase price was 1288 yuan, not including shipping. I also spent 50 yuan to buy Windows drivers.
Flashing Third-Party BIOS
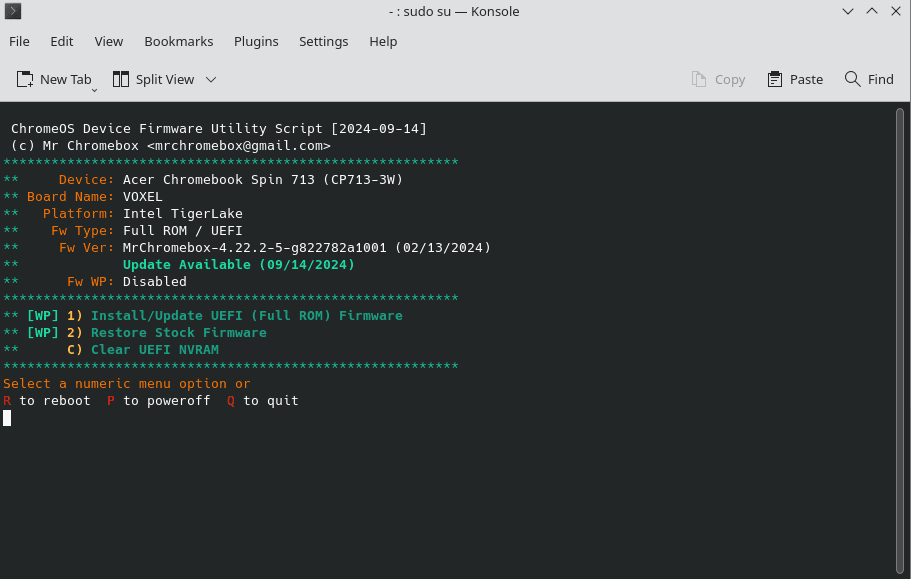 Most Chromebook/Chromebox devices need to unlock the BIOS write protection before using the developer mode in ChromeOS to run the mrchromebox script and flash the BIOS. The machine I received had already been flashed with Coreboot (a third-party BIOS for Google ChromOS X86 devices that supports UEFI boot), but the version was older and had issues with Type-C hot-swappable devices. I found that the latest BIOS update on the mrchromebox website on September 14, 2024, solved the C-port problem on the Tigerlake platform. Therefore, I used a USB boot Debian Live system to update the BIOS. After entering the system and connecting to the internet, I executed the following command as root:
cd; curl -LO mrchromebox.tech/firmware-util.sh && sudo bash firmware-util.sh
As shown in the screenshot, I directly selected Update to complete the BIOS upgrade.
Disassembly and Installation of Solid-State Drive
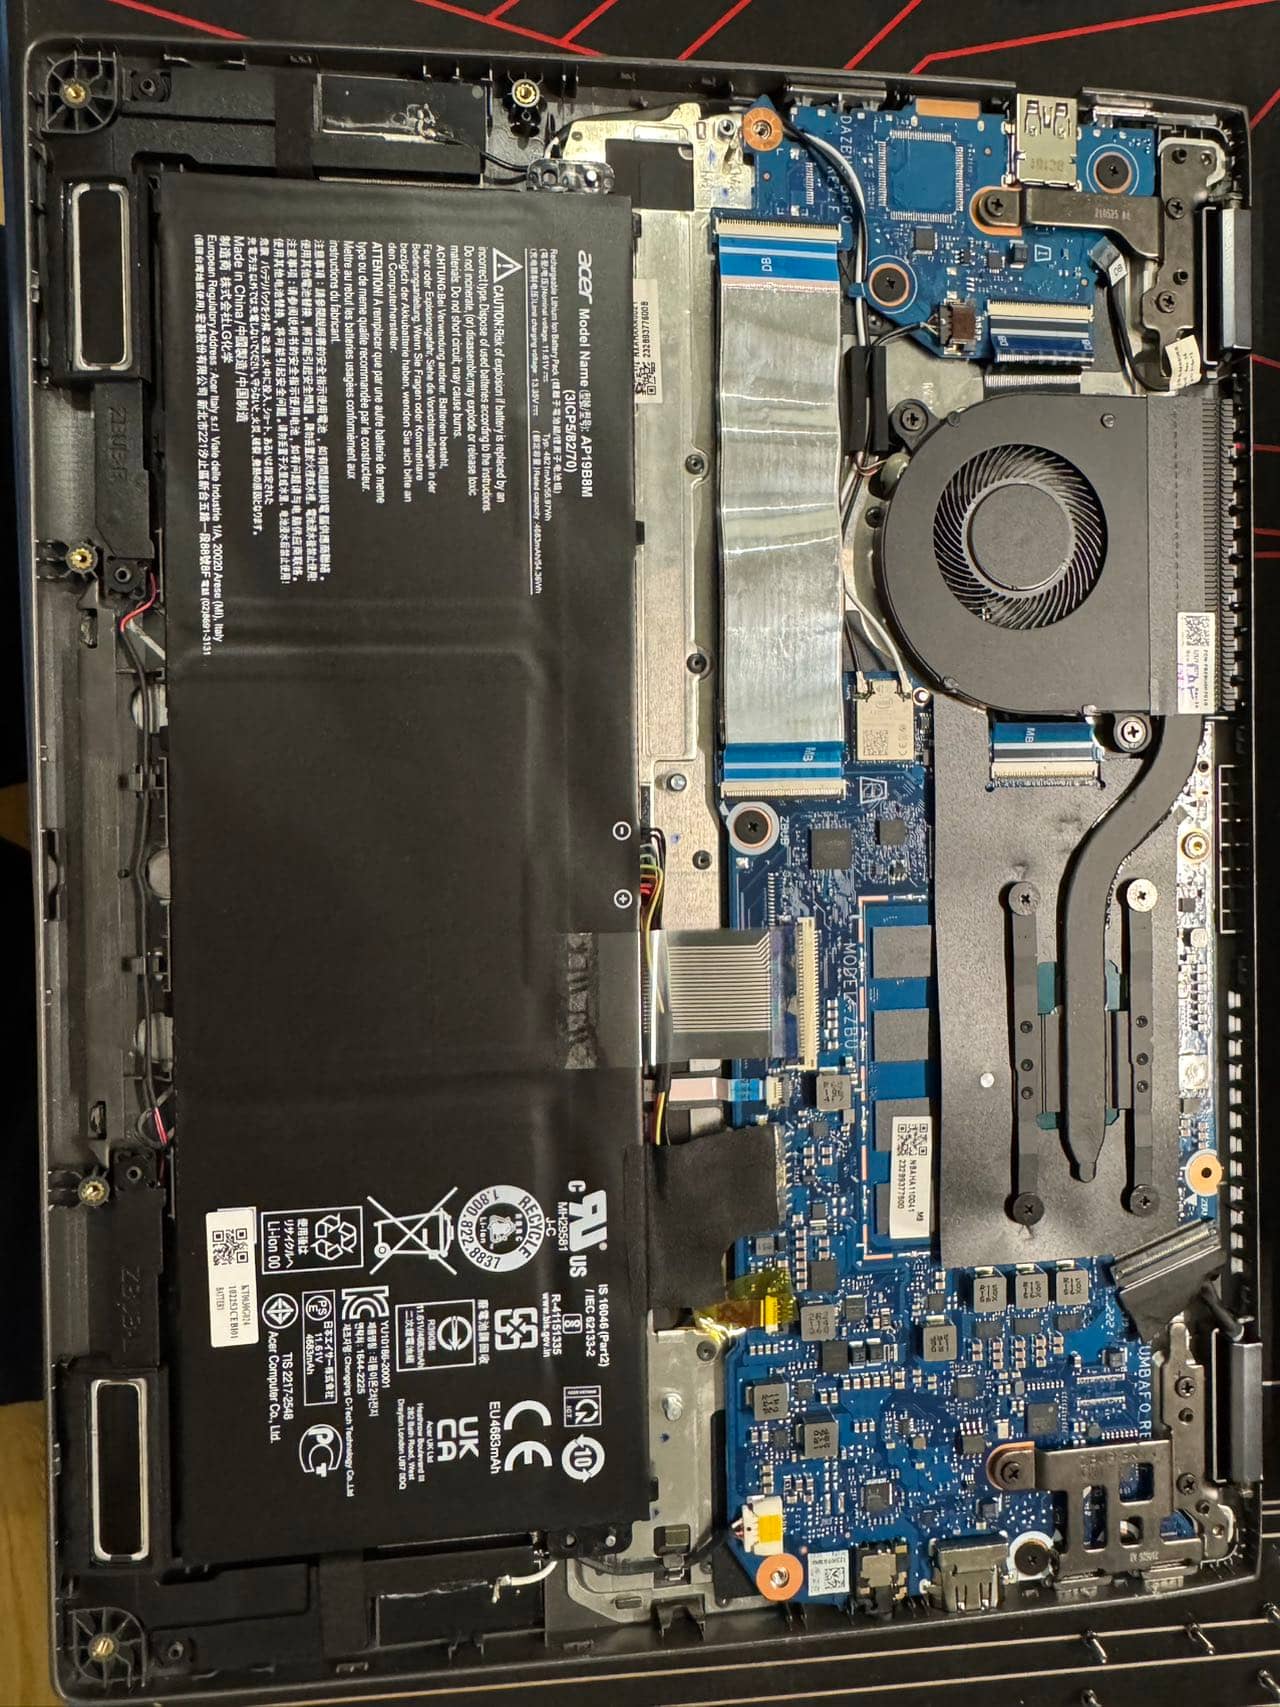 Disassembly is relatively simple. After removing the screws on the D-side, you can gently pry open the hinge position to remove the back cover. The back cover is attached to the motherboard surface using magnetic adsorption, which is a good design. The M2 is located under the wiring, and you need to carefully disconnect the wiring to replace it.
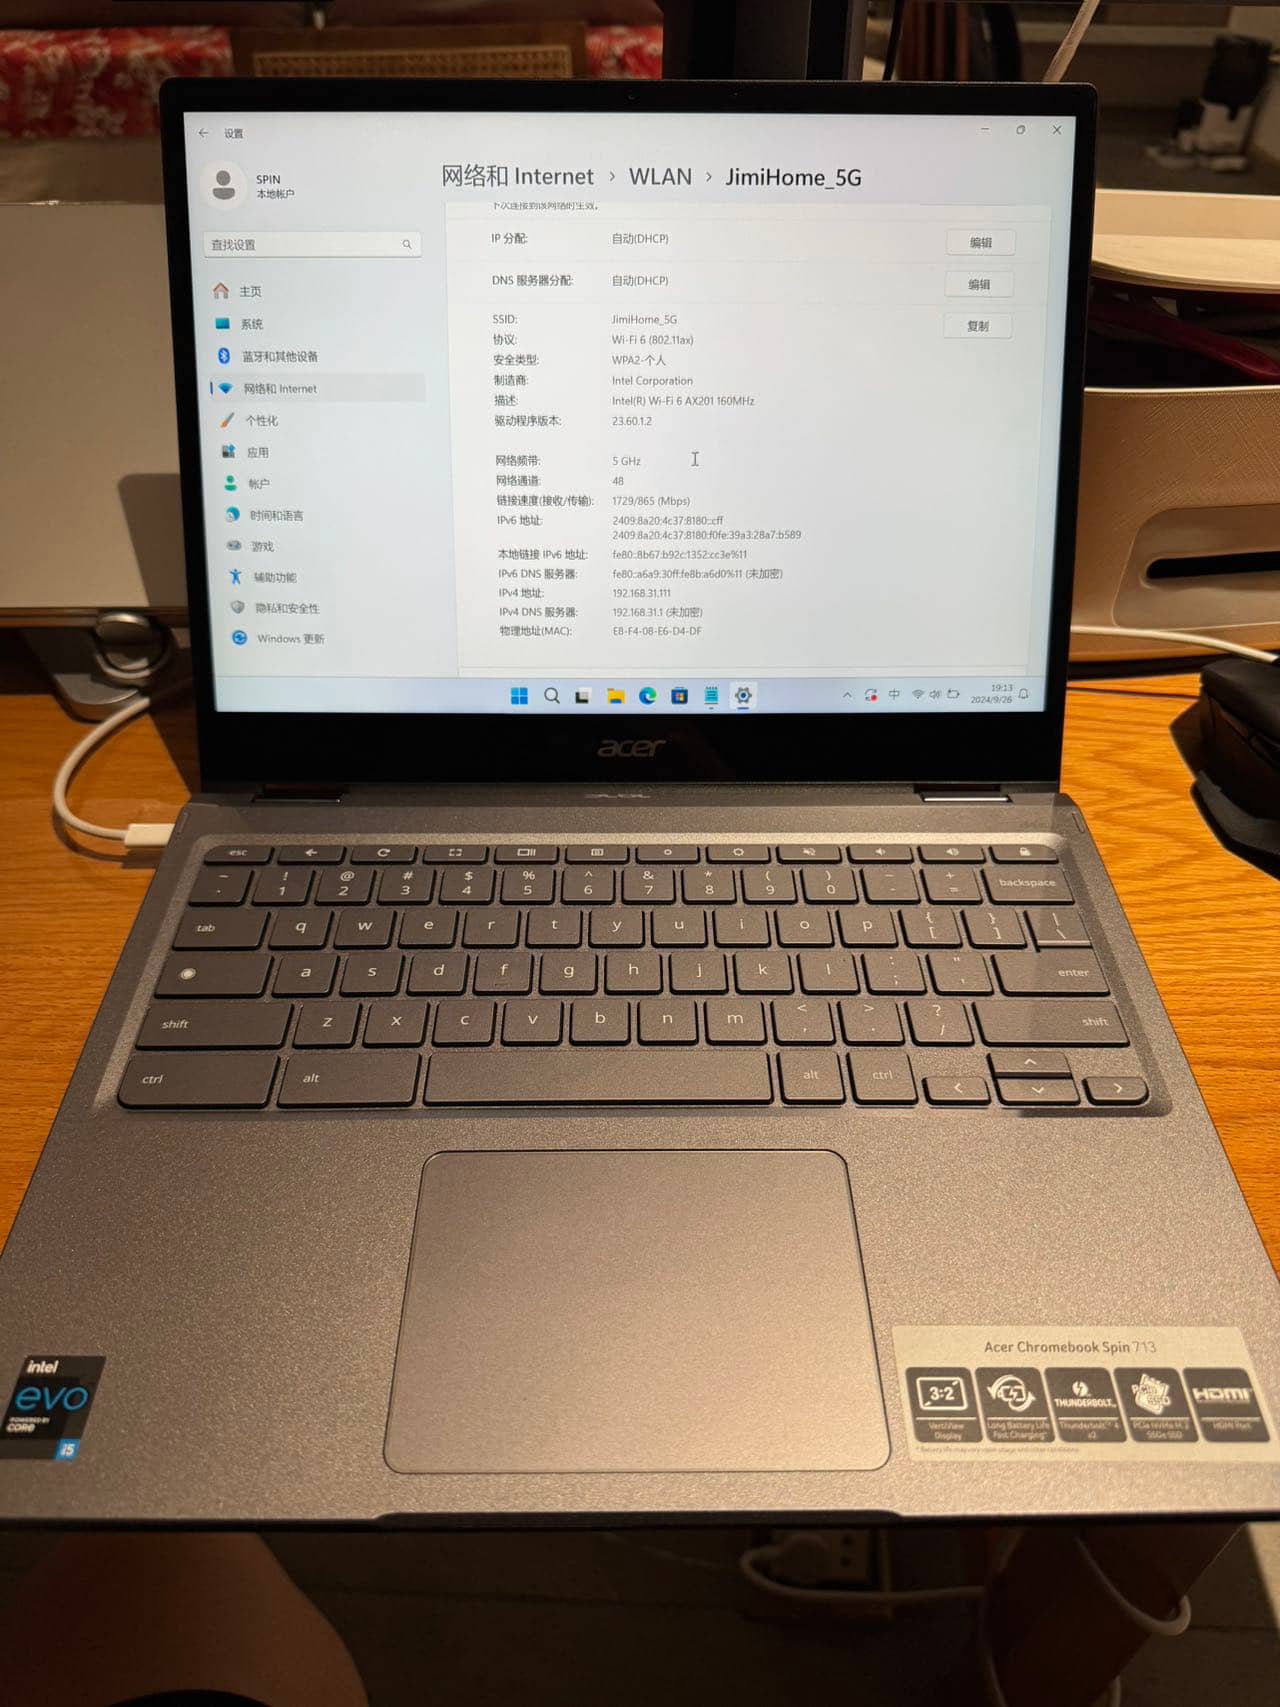
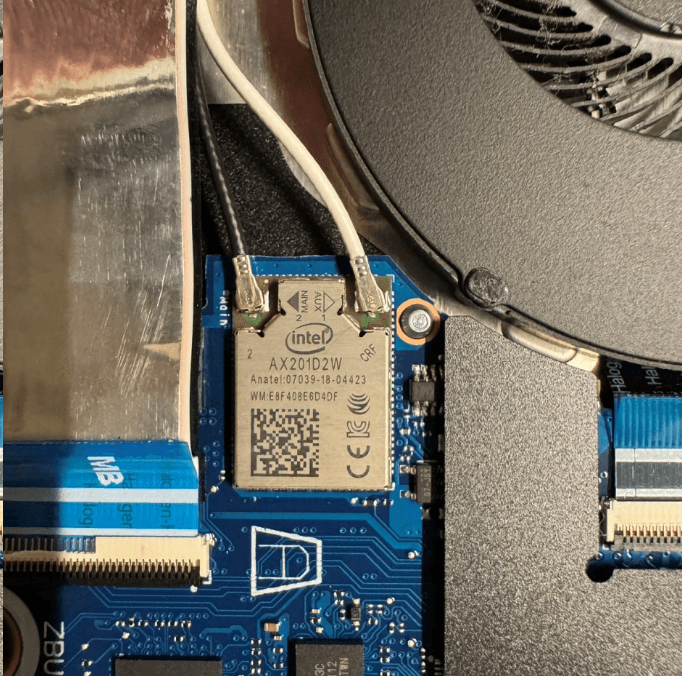 The motherboard is equipped with the AX201D2W wireless network card, which is the first time I've seen it, and it's quite cute. It can connect with my home WiFi 6 router at a speed of around 1800 Mbps.
Installing Win11
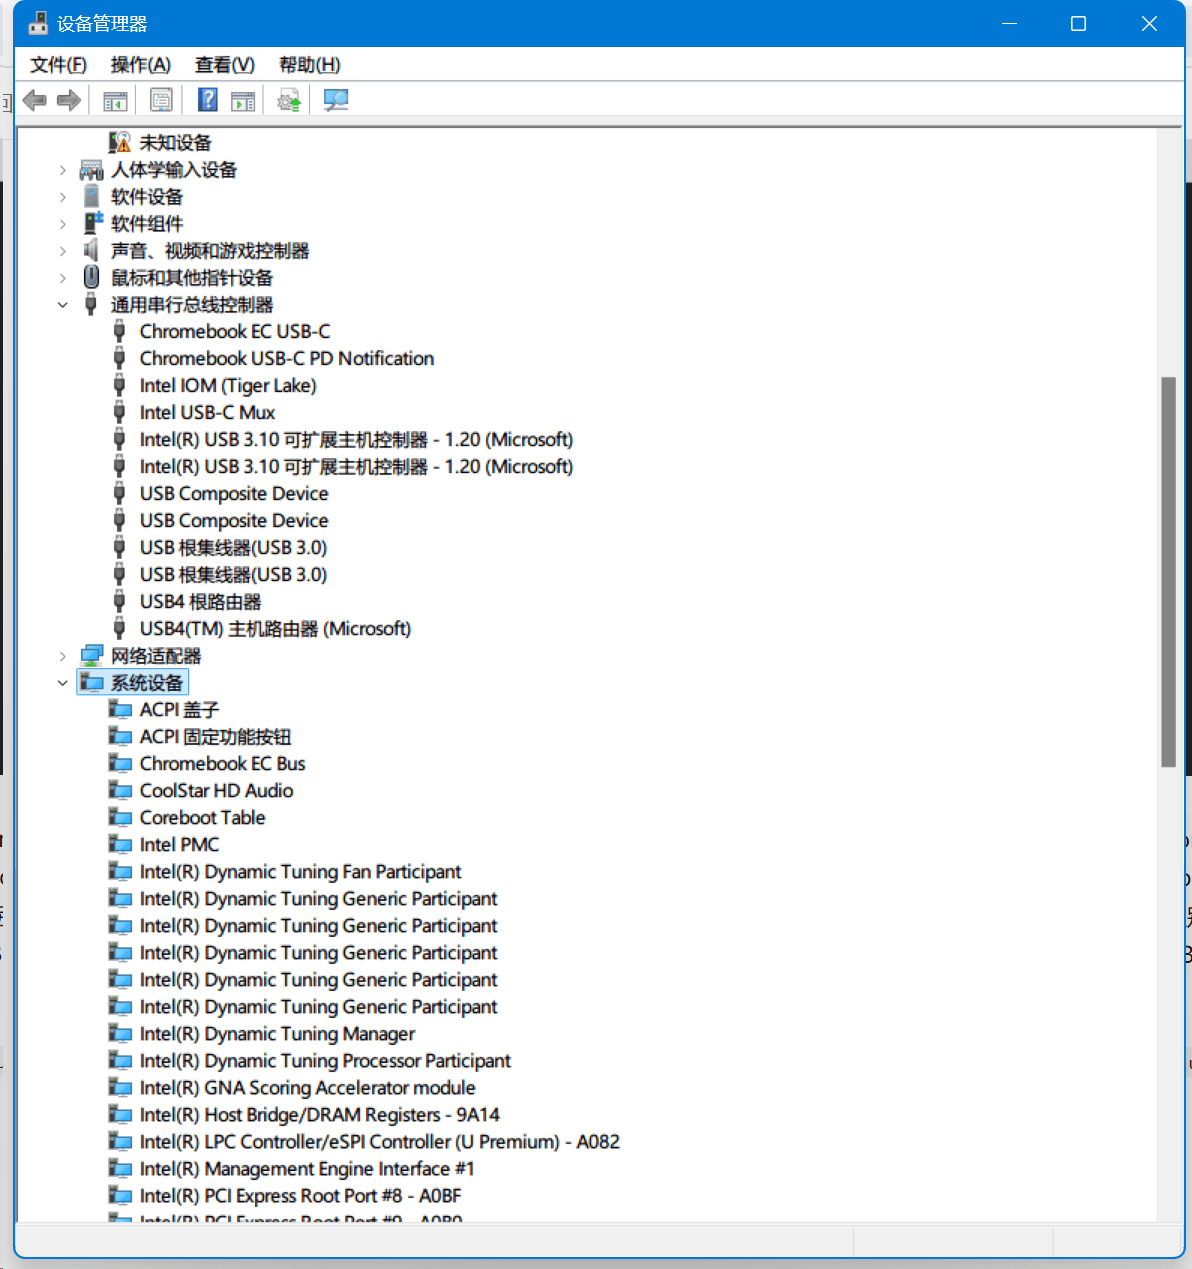
After flashing Coreboot, you can install it normally via UEFI boot, and the drivers can be installed. The touchpad, HDMI, camera, and audio interface all work properly. However, the volume keys cannot be controlled normally. It is said that Thunderbolt 4 is recognized as USB4 under Win11, but I don't have a Thunderbolt 4 device to test it with, so I'll talk about it later.
若无法加载请检查网络环境。
若无法加载请检查网络环境,或切回 Disqus 稍后再试。